


Read before you begin.
Review the full recipe and check the appliance instructions before measuring ingredients or switching on the heat.
A better kitchen routine is built one thoughtful habit at a time. Discover useful techniques for preparing, cooking, mixing, brewing and caring for the equipment you reach for every day.
Five practical chapters, from a well-prepared counter to an easier clean-up. Each idea is adaptable to your own recipes and equipment.
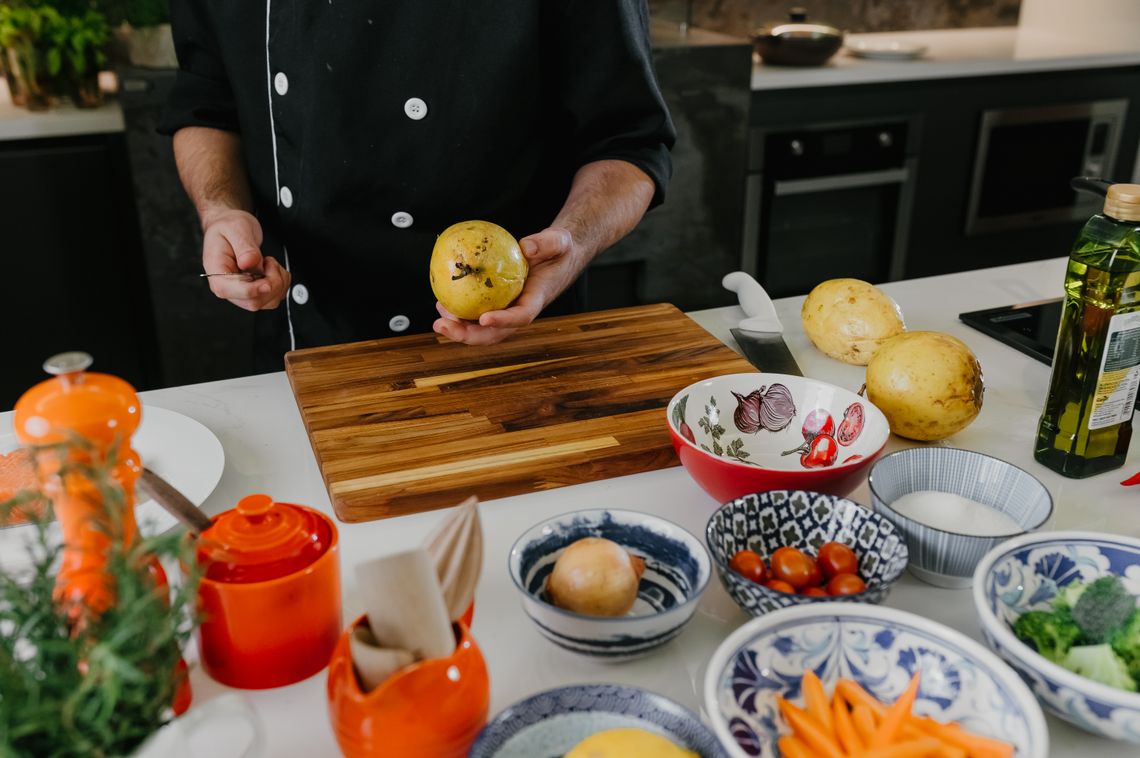
No complicated method required. A few practical routines can make preparation more organized and cooking more comfortable.
Review the full recipe and check the appliance instructions before measuring ingredients or switching on the heat.
Arrange ingredients, utensils and equipment so the work surface stays organized throughout preparation.
Check the units and method in the recipe. Use suitable measuring tools rather than assuming a cup, spoon and scale are interchangeable.
Follow the fill lines and batch limits for a blender, mixer, food processor, fryer or cooking vessel.
Use separate handling for raw meat and ready-to-eat foods, and check safe cooking temperatures with a food thermometer.
Allow equipment to cool and disconnect it where required. Follow the maker's directions before washing or removing parts.
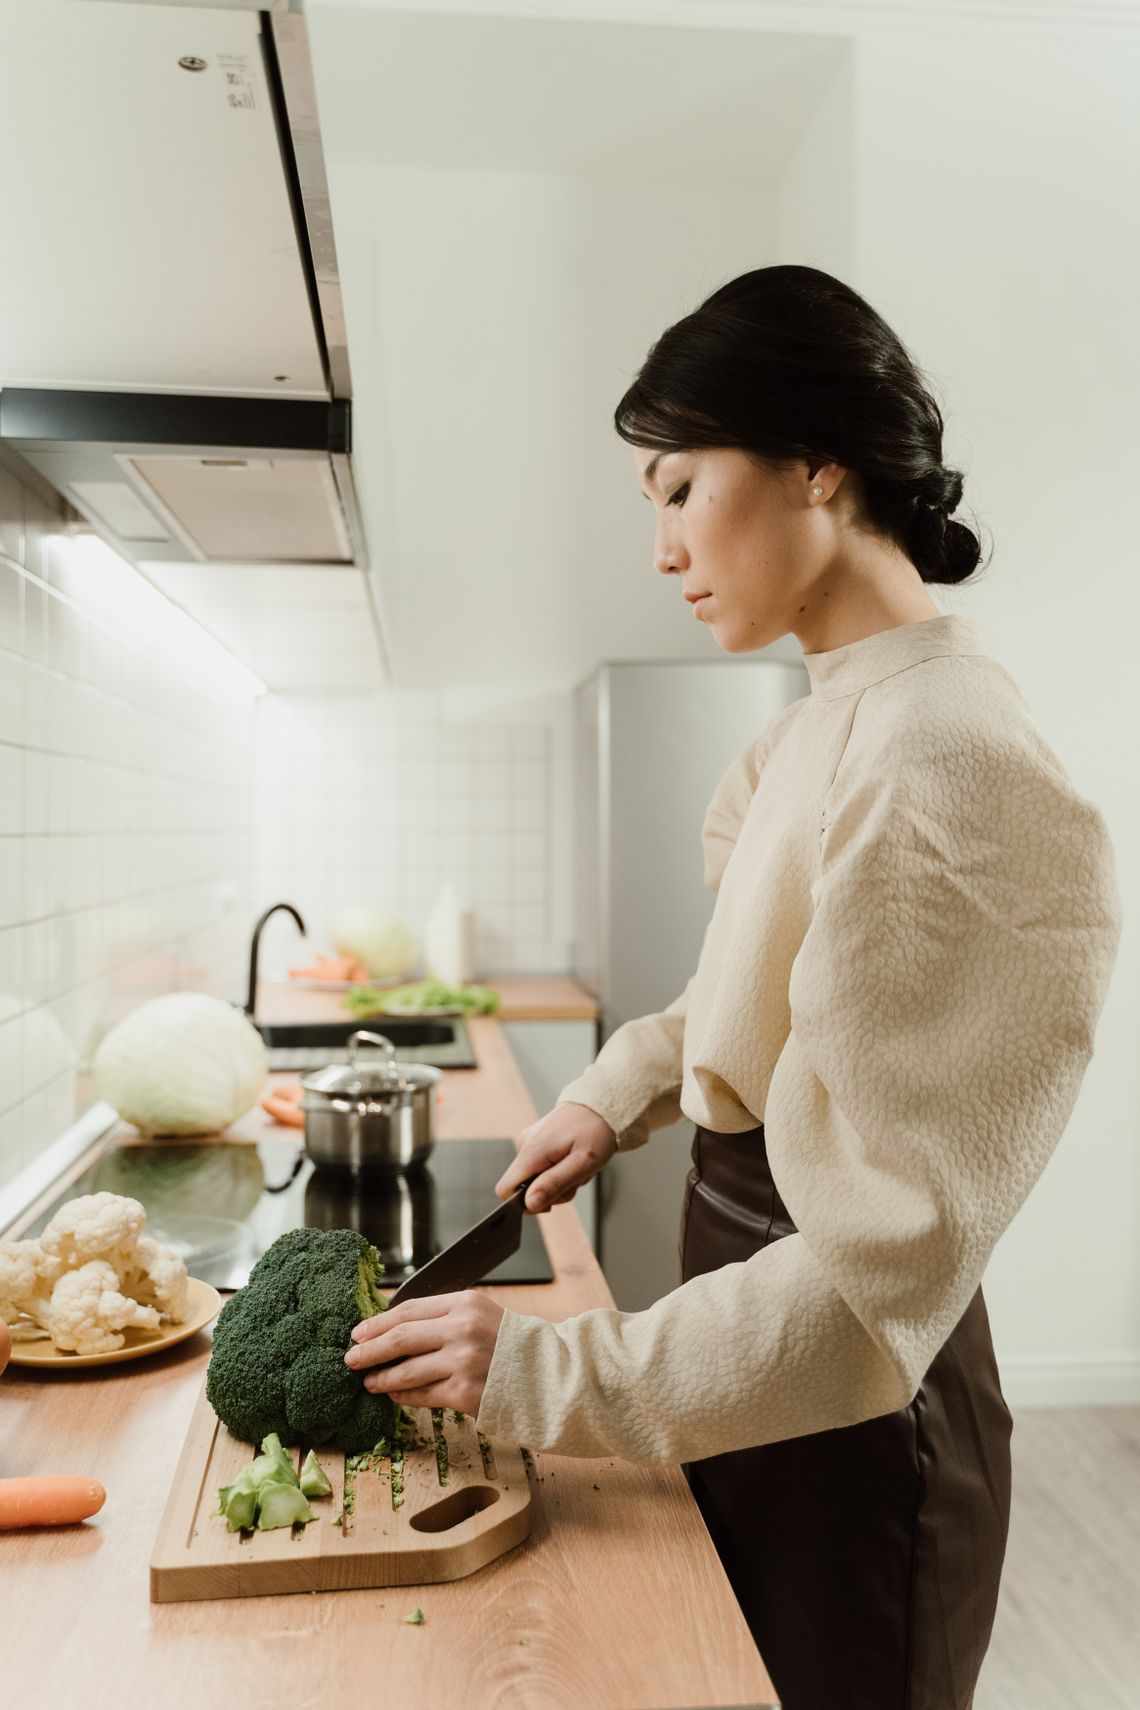
Before switching anything on, get the ingredients and tools in place. This practice—often called mise en place—is a practical way to approach recipes with several steps.
Give the recipe a clear beginning.
Identify anything that needs preheating, chilling, draining or resting before you begin.
Wash your hands and working surfaces; keep raw meat separated from ready-to-eat ingredients.
Measure and organize them in the order you expect to use them.
Choose a suitable knife, board, measuring tool or processor attachment for each task.
Air fryers, countertop ovens, multi-cookers, grills and stovetop cookware work differently. The most useful habit is to let the exact model's instructions guide the process—not an assumed cooking time.
Capacity, clearance and temperature matter.
Allow the ventilation and heat clearance required by the manufacturer.
Stay within the stated capacity, especially for air fryers and multi-cookers.
Use the temperature and program appropriate to the appliance, recipe and food.
Use a food thermometer and the official minimum internal temperature guidance rather than relying only on color.
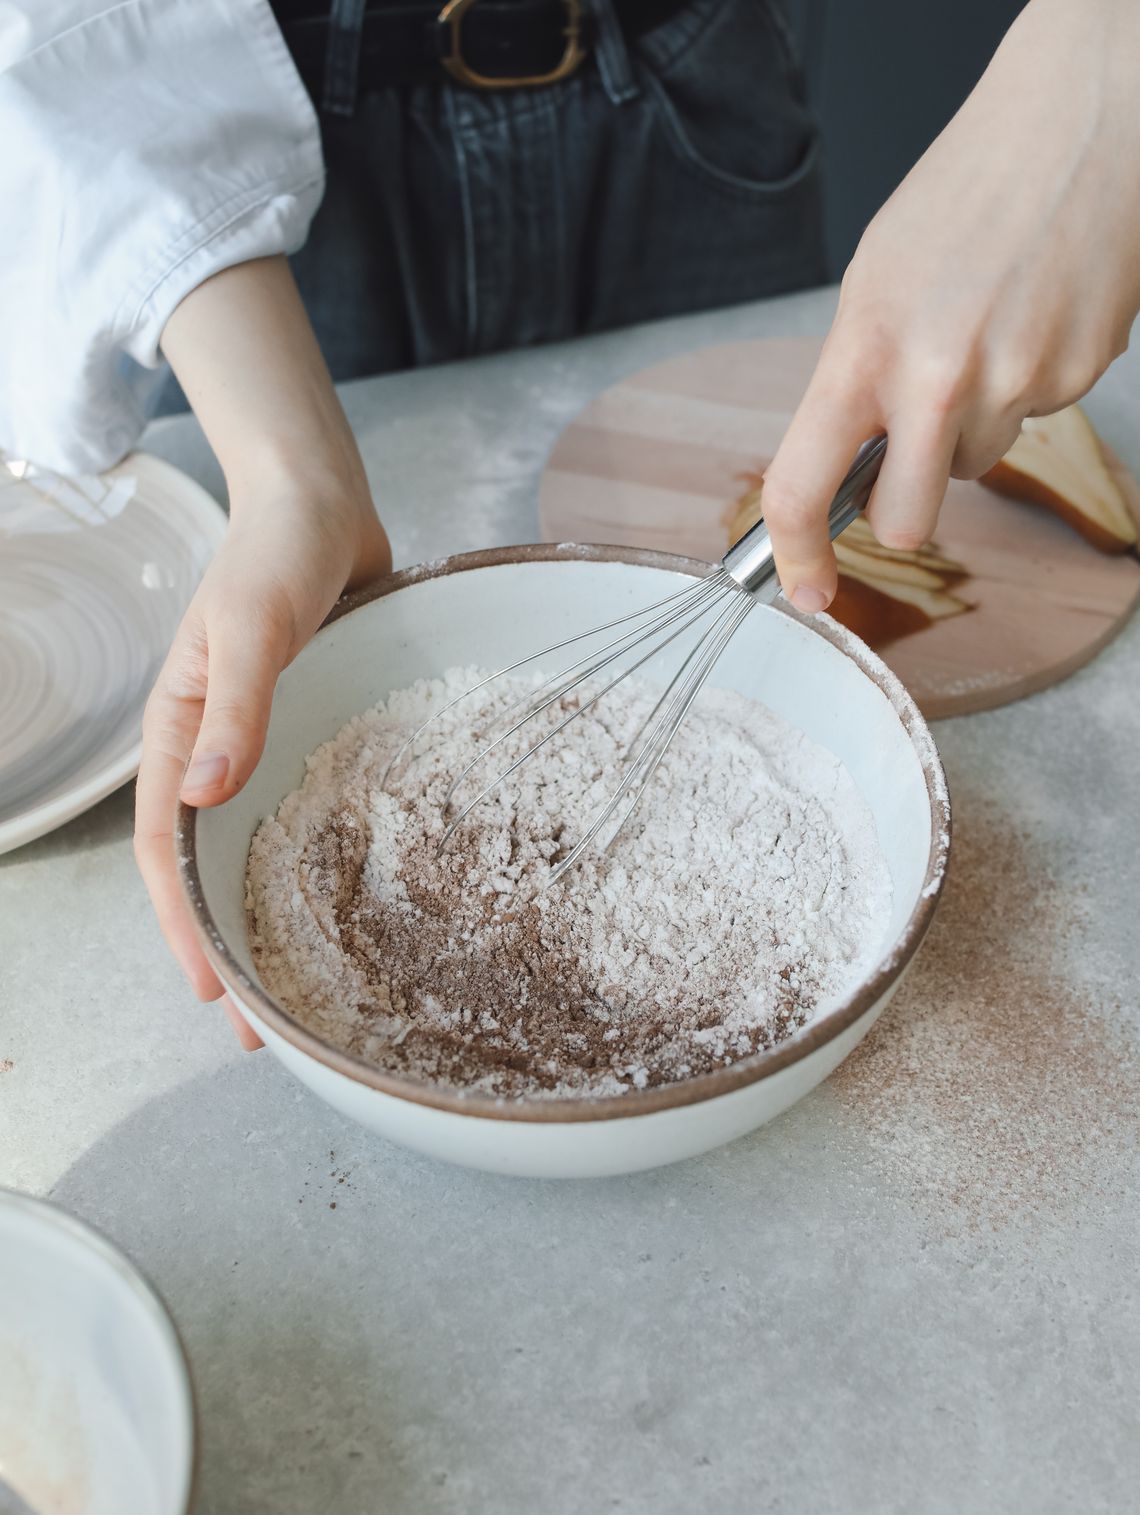
Good baking begins with matching the recipe to its ingredients, pan and mixing method. Whether you use a hand mixer or stand mixer, understanding the sequence can make the work easier to follow.
Follow the method before the speed.
Use a scale where the recipe specifies weight; otherwise follow the listed measuring method.
Check which whisk, paddle or dough hook the mixer manual recommends for the task.
Compare pan size, material and oven-safe temperature with the recipe and oven.
Handle hot pans safely and clean bowls, trays and removable attachments as directed.
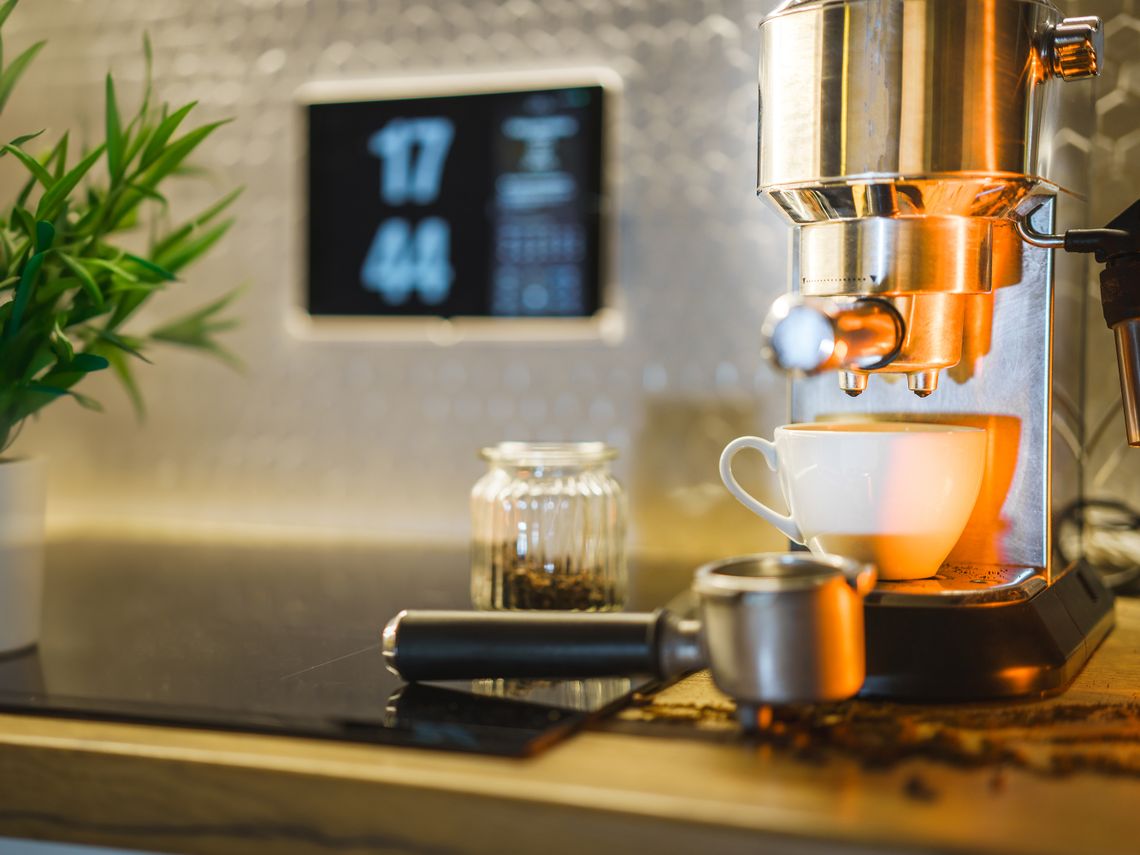
A coffee maker, grinder, electric kettle, blender and juicer each have their own routine. A little organization around ingredients and cleaning can make those steps easier to repeat.
Let the drink shape the equipment.
Identify the brewing format or beverage type your appliance supports before preparation.
Keep your preferred coffee-to-water or recipe quantities consistent when comparing results.
Use only suitable filters, grinder settings, containers and attachments for the model.
Clean and descale when recommended; follow the maker's guidance for any water, milk or juice-contact parts.
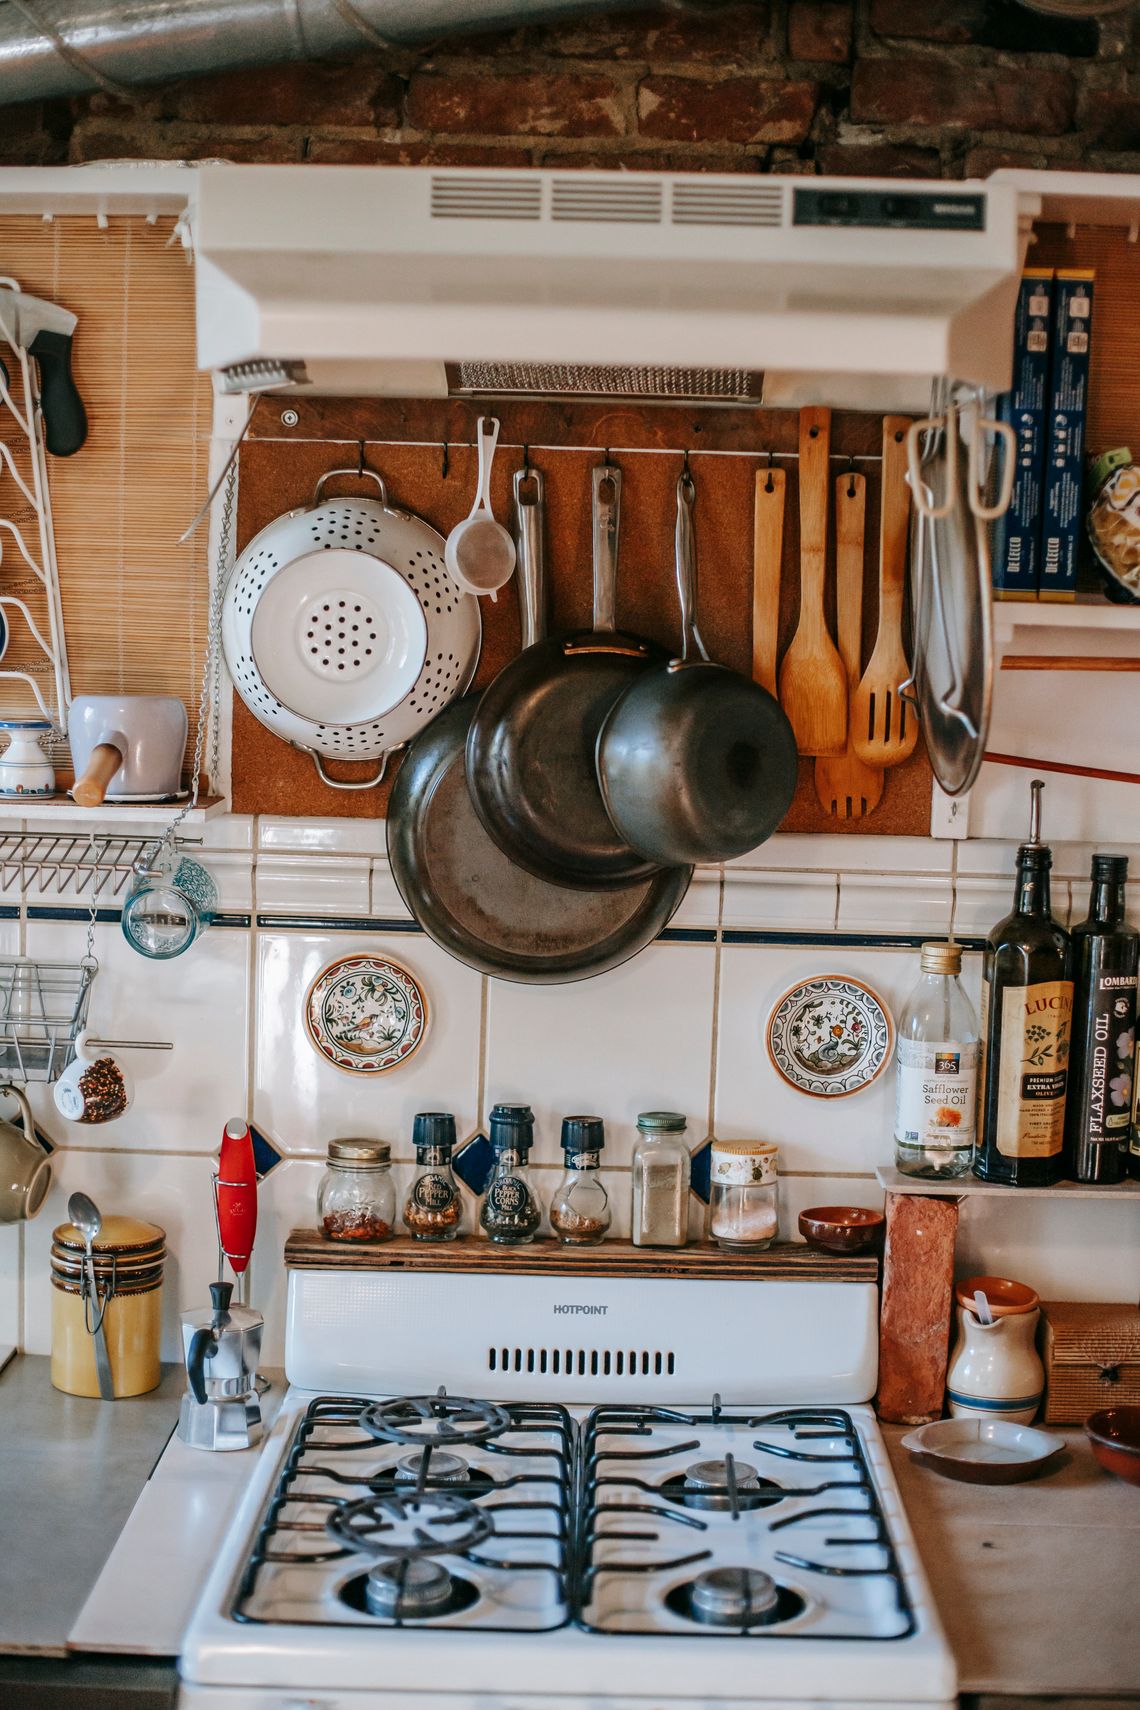
The after-cooking routine deserves as much thought as the preparation. A clean counter, correctly stored knife and well-cared-for pan all make the next meal easier to begin.
A little attention protects everyday usefulness.
Switch off or unplug equipment where required, and allow hot parts to cool safely.
Confirm what is dishwasher-safe and what must be cleaned by hand.
Keep knives and food-processor blades secured, away from loose utensil drawers and children's reach.
Keep measuring tools, accessories, cookware and dry storage organized by how often they are used.
Small techniques to apply across different Kivqora product families—always following the requirements of the specific product you own.
Keep your board stable, organize ingredients before cutting, and move prepared food into suitable containers as you work.
Match quantity to the appliance's stated capacity and avoid assumptions about how closely food can be arranged in the cooking area.
Check ingredient restrictions, maximum-fill guidance and lid placement before using a smoothie maker, blender or processor.
Set out the pan, measuring tools, attachments and recipe ingredients before mixing; confirm oven ratings for the bakeware.
Record your usual recipe quantities and brewing settings so that you can change one variable at a time.
Follow each material's care instructions, dry items as recommended and keep compatible accessories together.
Use a food thermometer for foods that require safe internal temperatures. These are USDA reference points, not appliance programs or universal cook times.
Minimum internal temperature for poultry and reheated leftovers, measured with a food thermometer.
Minimum internal temperature for ground beef, pork, veal and lamb.
Minimum internal temperature for finfish, with food-specific guidance for other seafood.
Refrigerate perishable food within two hours, or one hour if above 90°F.
Source and further detail: USDA safe internal temperatures and USDA food-handling guidance. Some foods require different temperatures, rest times or handling. Always check food-specific guidance and the appliance's manual.
Shipping is free on all products, with delivery in 3–5 calendar days.
Customer support is available around the clock for product, order and compatibility questions.
Free returns and exchanges within 30 days. Email subscribers receive automatic 15% sitewide savings; selected offers receive automatic 20% off, with no code required.
The basics of practicing techniques safely while keeping your own equipment, ingredients and routine in mind.